 |
| After editing |
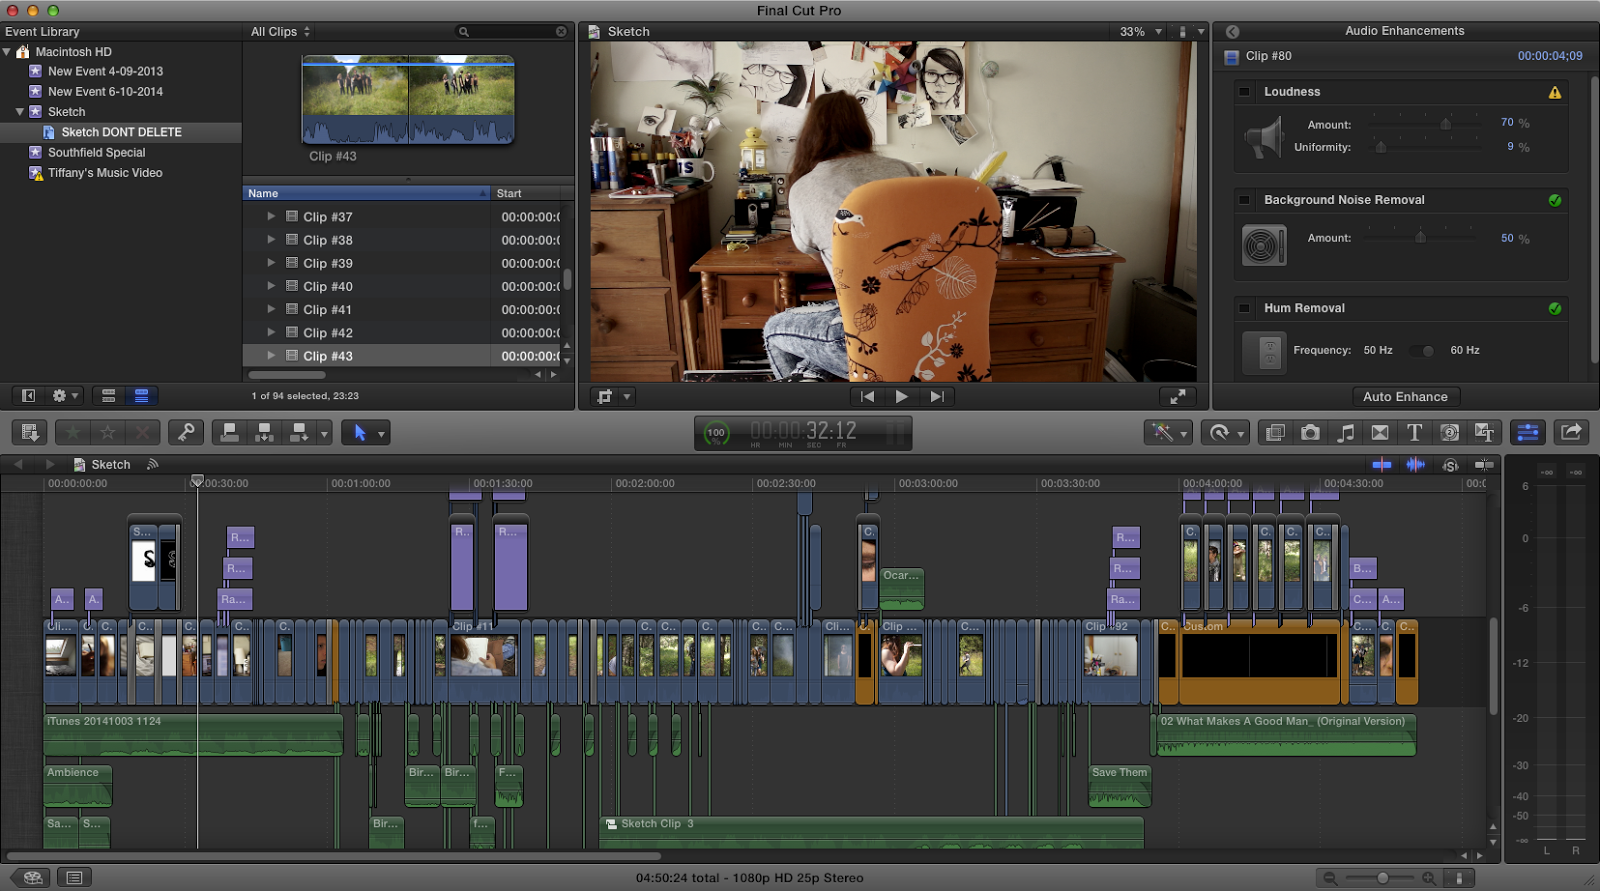
I used colour correct, saturation and contrast manually to fix the juxtaposition that was created by natural weather. The Shadow Selves are known as the dark villains in this short film and so the saturation needed to be brought down so I didn't have a clash which might confuse audience members. I also added more white to the footage to wash out my characters slightly to make them appear slightly dead. Also, by bringing down the saturation you get less of a bright green and more dark, shallow tones. I also did this towards the beginning of the film - I took more colour out as colour conveys happiness and feeling, where as the girl has insecurities and so by taking the colour away it represents her mood at the beginning of the film and the transformation towards the end.
The shot below is from the beginning of the short film. As you can see, the footage looks drained and lifeless. I wanted to portray this at the beginning of my short film because the girl is suppose to show a dramatic change after going into the daydream. I also link this later on to the Shadow Selves, where the same grading was used to show the link between the girls depression and the cause of her depression (the Shadow Selves).

When the girl is sitting on the chair I took a lot of saturation out of this. The camera I was using (Sony 5n) picks up a lot of vibrant colours and so this made for more editing later on. By lowering the grey and whiter tones I was able to still keep colour whilst making the room appear less colourful without the use of filters or layers which can make a film appear unprofessional.
Chroma Keying
Way before producing any kind of special effects on Adobe AE I needed to Key out the green screen, add in the background and colour correct so it matched a similar colour to the background. We were able to gain a warmer tone to the actor by using stage light which gave an overall golden glow and gave it the feeling that he was outside. Applying a video as the background was the easy part. You just apply the chroma key layer over the green screened video and it cuts out the colour that you select. You then pop a video underneath and it shows up in place of the green screen. The problem that occurred, however, was that because we used fabric as our green screen and not a painted wall, some areas of film became darkened from the shadows in the fabric. I managed to solve this through trial and error. By expanding the Chroma leeway into more turquoise colours as well, and allowed a higher spill level to fill in the shadows. I needed to do this with every different angle and camera shot to make sure that it was suitable for Adobe AE.
The shot below is from the beginning of the short film. As you can see, the footage looks drained and lifeless. I wanted to portray this at the beginning of my short film because the girl is suppose to show a dramatic change after going into the daydream. I also link this later on to the Shadow Selves, where the same grading was used to show the link between the girls depression and the cause of her depression (the Shadow Selves).

When the girl is sitting on the chair I took a lot of saturation out of this. The camera I was using (Sony 5n) picks up a lot of vibrant colours and so this made for more editing later on. By lowering the grey and whiter tones I was able to still keep colour whilst making the room appear less colourful without the use of filters or layers which can make a film appear unprofessional.
Chroma Keying
Way before producing any kind of special effects on Adobe AE I needed to Key out the green screen, add in the background and colour correct so it matched a similar colour to the background. We were able to gain a warmer tone to the actor by using stage light which gave an overall golden glow and gave it the feeling that he was outside. Applying a video as the background was the easy part. You just apply the chroma key layer over the green screened video and it cuts out the colour that you select. You then pop a video underneath and it shows up in place of the green screen. The problem that occurred, however, was that because we used fabric as our green screen and not a painted wall, some areas of film became darkened from the shadows in the fabric. I managed to solve this through trial and error. By expanding the Chroma leeway into more turquoise colours as well, and allowed a higher spill level to fill in the shadows. I needed to do this with every different angle and camera shot to make sure that it was suitable for Adobe AE.

No comments:
Post a Comment